
So I previously stated that part three would be about the controls. But I feel that I should dig into the gameplay first and then the controls. Therefore this part will go through the different game modes. NOTE: I am not going to be discussing Ground Forces, as I am not as knowledgeable or care as much for it as I do the aircraft.
Getting into the Game
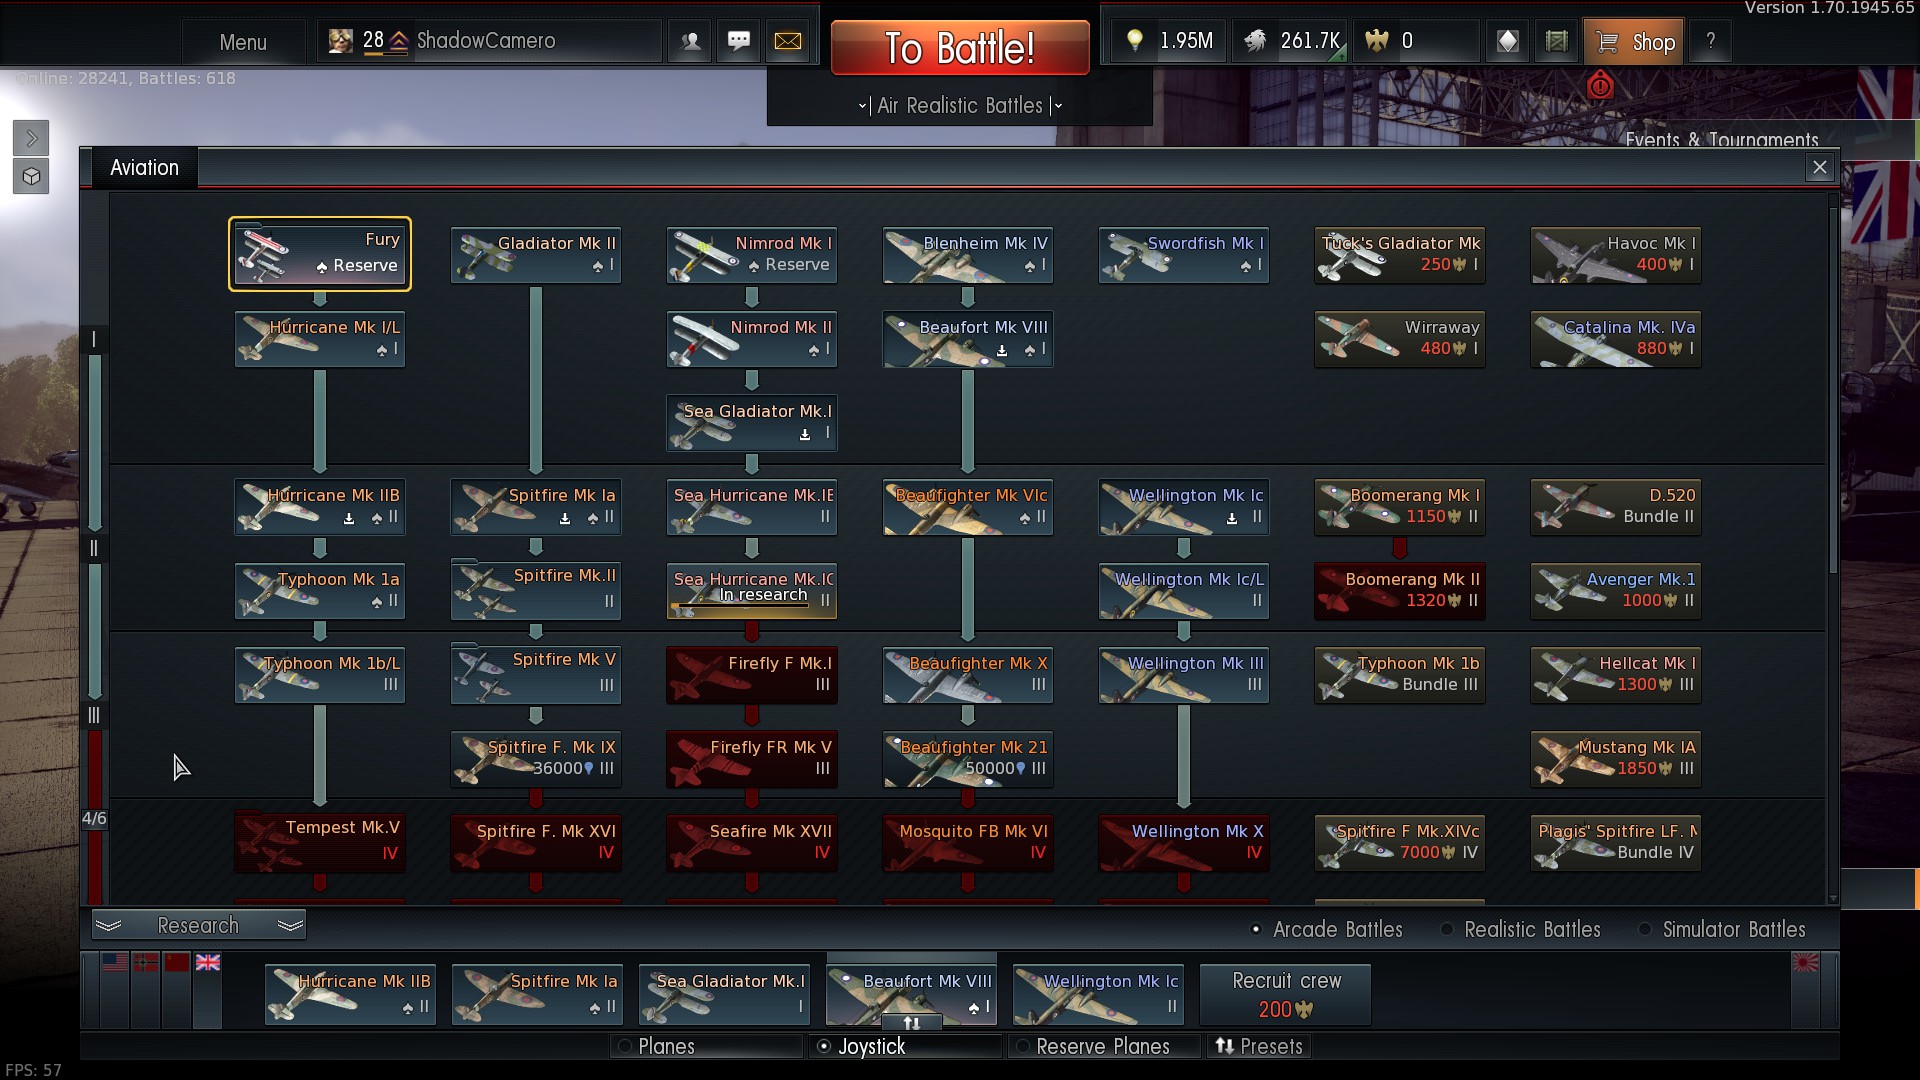
Firstly, you have to figure out what game mode you want to play. There are three main modes: Arcade, Realistic, and Simulator. They also have competitions and special events. Once you choose which mode you want just click the Battle button. Here I’ve entered the matchmaking for a Simulator battle.

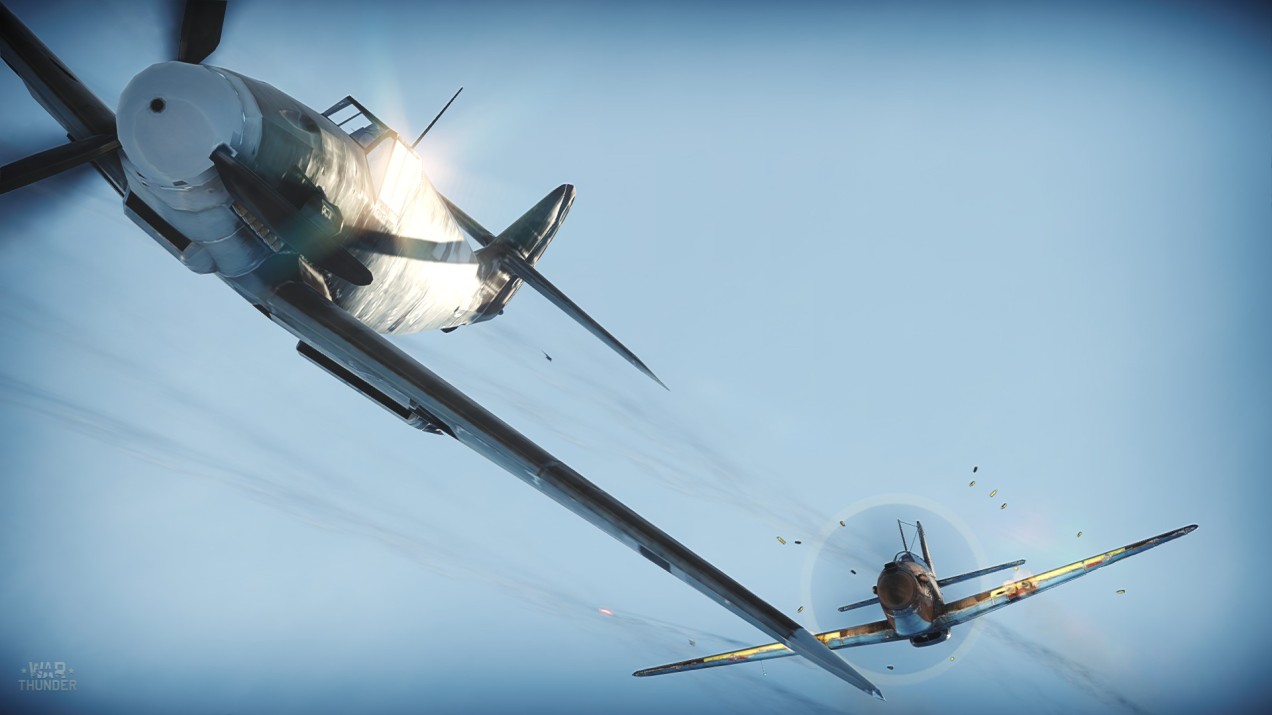
Arcade Battles

Once in a match you will be greeted with the pre-match screen. First you choose your plane. Then you can choose a bomb or rocket load and ammo types. You can also choose different camos and set your gun targeting distance.
Once you click the To Battle button, you enter the game.
NOTE: I was using a joystick for all of the screenshots.
You can also fly in the cockpit.

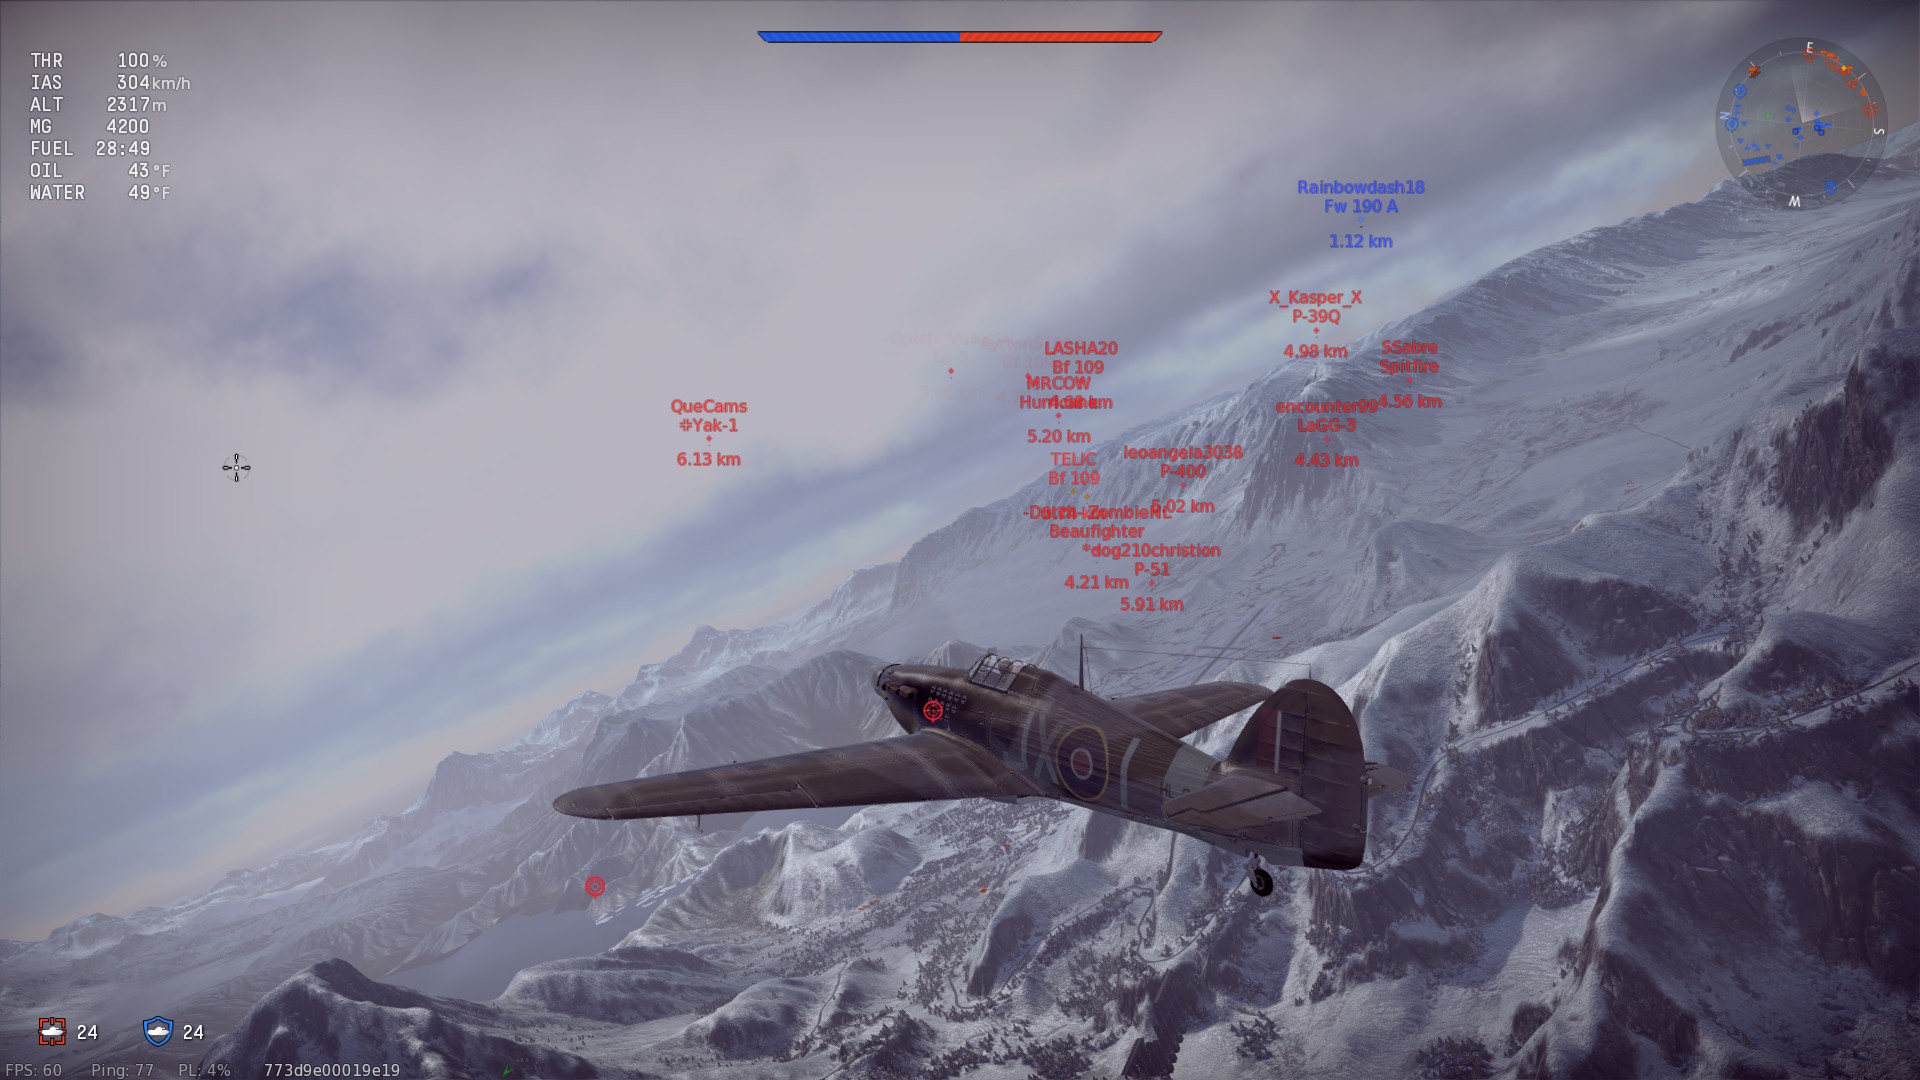
Now go fly around and try and shoot some stuff down. And wait until you get shot down. When you’re shot down you may have the option to bail out. You can press and hold J to bail out.

Realistic Battles

Realistic battles are very similar to arcade battles, except the planes must be from nations that fought against each other in real life or be possible, as in the Alternate History missions. Also the flight models are more realistic.
Another thing to note in Realistic mode is you don’t automatically reload. Instead, you must land at a friendly airfield or aircraft carrier.

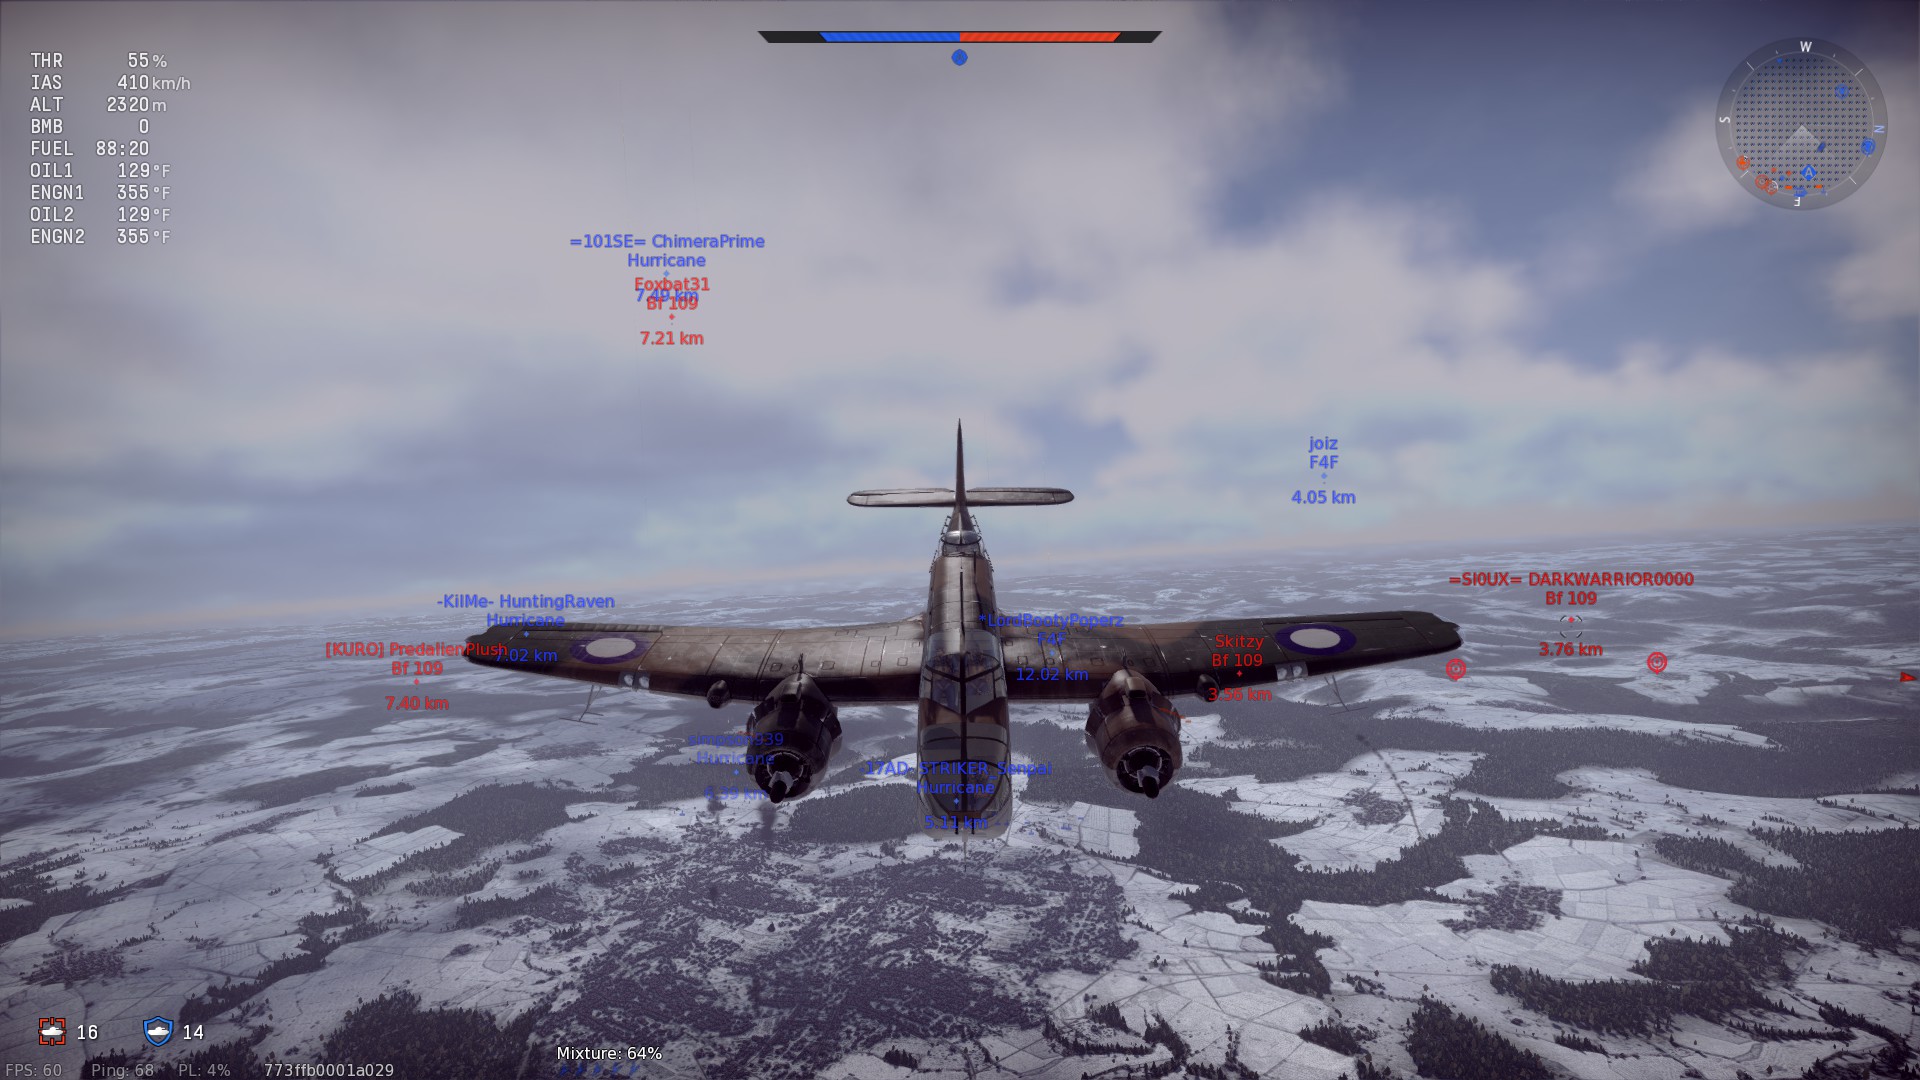
Simulator Battles
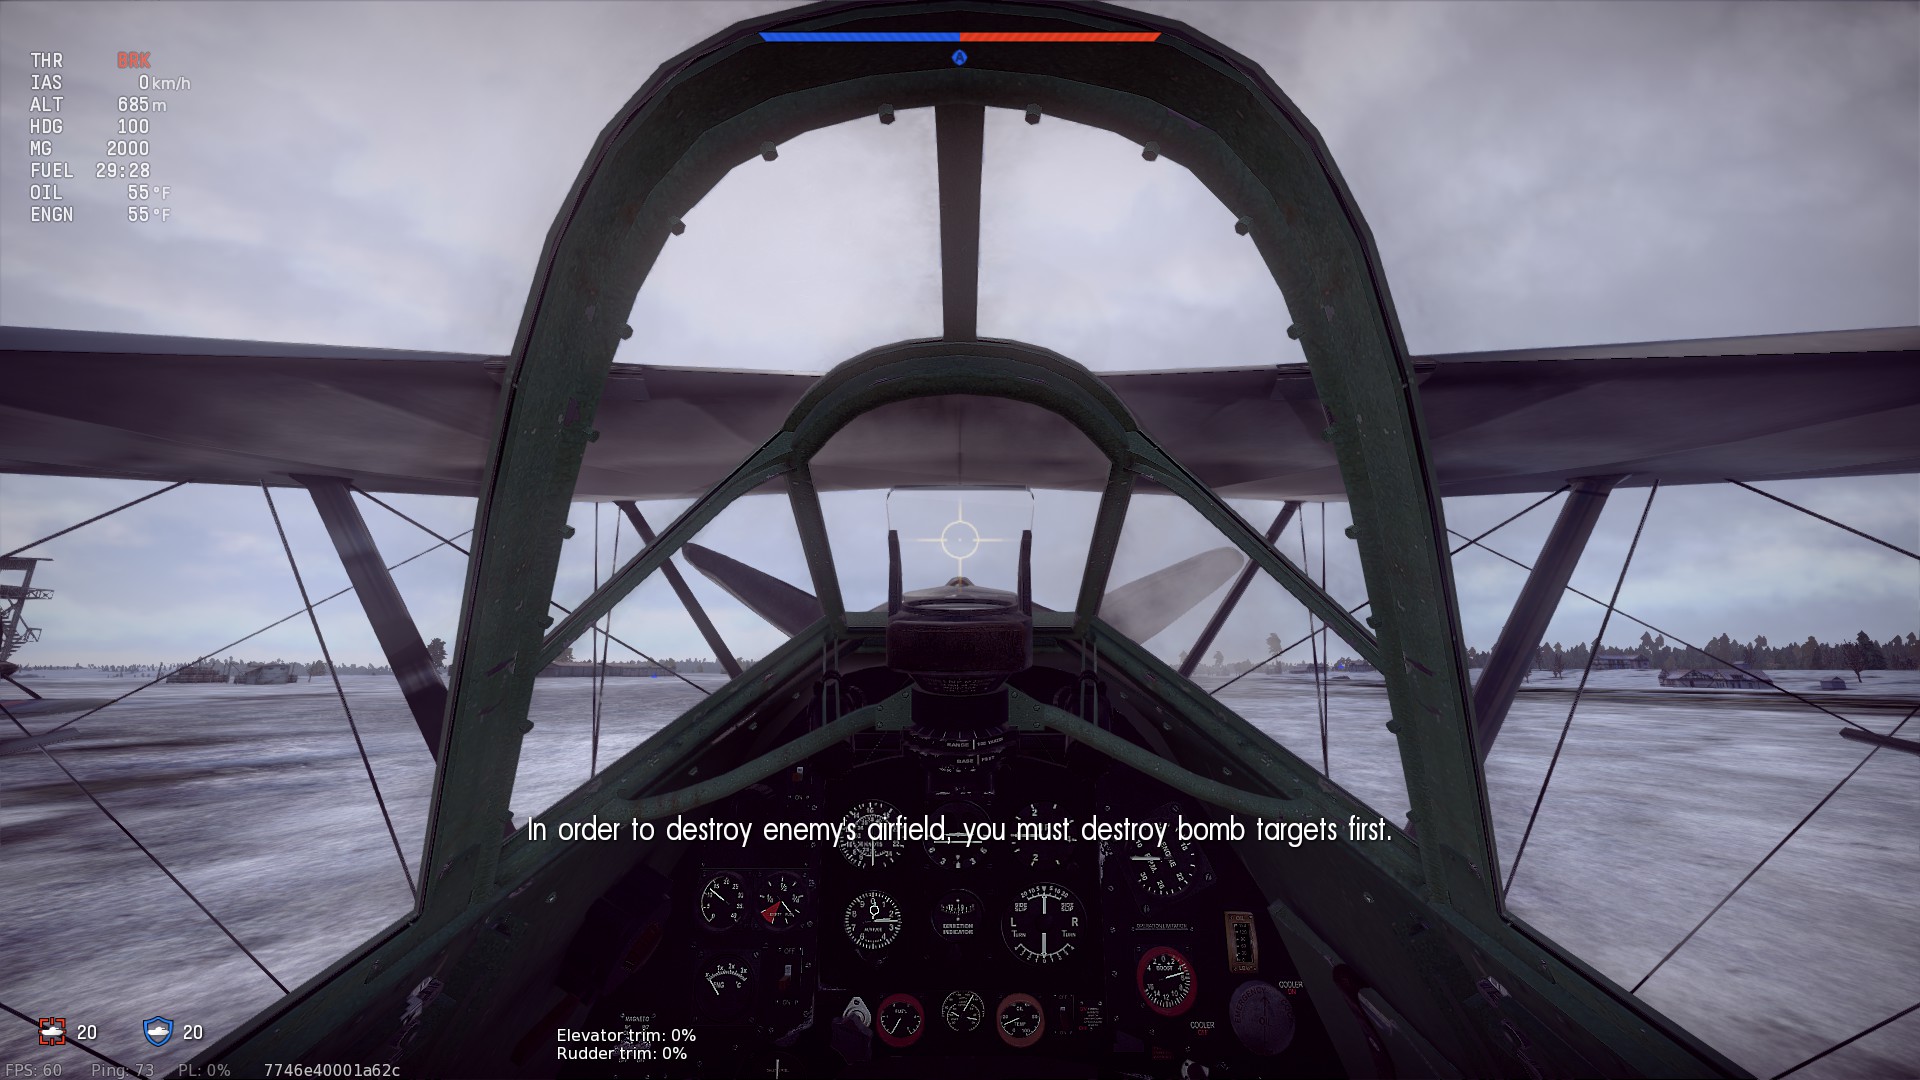
In Simulator mode you must play in cockpit or virtual cockpit mode depending on what is available on your aircraft. You also must start on the airfield or aircraft carrier.

Also there are no plane markers. However, when you are within 0.9 km the friendlies name appears. Here one of my friends is past the limit to view friendly names.
Post-Game

Once you have finished a match you will be greeted by the post-match screen. Here you can see how many kills and/or hits you got and other information. Also you can see how many Lions and Research Points you received.
After you will also be able to purchase upgrades and research new parts.
You can also research new planes and purchase researched ones after you finished a mission where you earned enough resources.
Parts
That’s it for Part 3; check back soon for Part 4, where I will discuss my control setup and how to set up your own! I hope you enjoyed this and safe flying!
Part 3

Pingback: Game Review: War Thunder Part 2 – Settings | Neu Inspiration
Pingback: Game Review: War Thunder Part 1 – Getting Started | Neu Inspiration